Posted on Leave a comment

Bike Wrap, Honda ST 1300, ST Wrap, Sport Touring, Honda Wraps, John Tome

Bike wraps, Bike vinyl, motorcycle customizing just peel & stick, save $ do it yourself 814-838-6377Honda ST 1100 bike decal, ST decals, Honda graphics, Honda wraps, Honda Stickers, from www.powersportswraps.comHonda sport touring vinyl bike wrap, sport touring wraps, sport bike wraps, from www.powersportswraps.comHonda wrap, ST 1100, motorcycle wraps, bike wraps, John Tome, Beth Tome vinyl wrap 814-838-6377honda ST 1100 bike wrap in lingtning & checker flag from www.powersportswraps.com

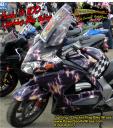
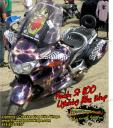
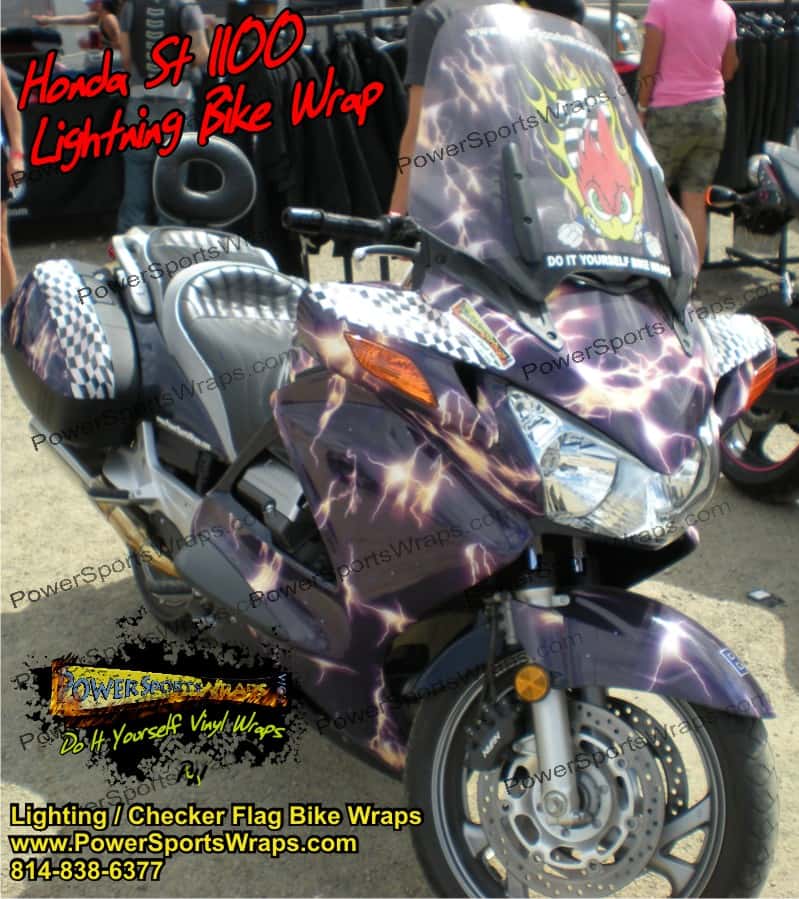
IT’S ELECTRIC!! Yes, this Honda St 1300 bike wrap from power sports wraps looks amazing. We created this lightning wrap just for one of our first time users John Tome from Erie, PA.  John wanted to make sure that his ST 1300 bike wrap stood out from all the others at the Mid-Ohio Super Cycle weekend & WOW!! did it ever.  We even wrapped his windscreen with perforated vinyl for that finishing touch.  I’m not sure John or Beth got a chance to even see a race that weekend as they talked to hundreds of people about there custom ST 1300 bike wrap.  They found that many sport touring bike owners are looking for ways to dress up there bikes without the commitment or cost of custom air-brush.  Wrapping your sport touring bike is the best & most economical way to customize your bike.  Call us today for your personalized bike wrap.     Learn how to apply bike wraps on our website.


shop; www.powersportswraps.com

See all Lightning patterns here

Posted on Leave a comment

Dodge Challenger Vinyl Wrap Application Tips & techniques

vinyl wrap application tips, how to apply a wrap, do it your self wraps www.PowerSportsWraps.comHow to apply vinyl graphics on Dodge Challenger, decal application tips from PowerSportsWraps.com 

BELOW ARE THE INSTRUCTIONS & NUMBERED PHOTOS FROM OUR CUSTOMER CHUCK ON HOW TO CREATE & APPLY THE VINYL WRAPPING FILM AS IT APPEARS ON HIS DODGE CHALLENGER.  THANK YOU VERY MUCH… CHUCK . POWERSPORTS TEAM…

I began step 1 by surfing the internet to find a pattern similar to what I liked. I found the strobe style the most beneficial due to the fact that being all small pieces I could make them from a 2×4 sheet and not see seams. I went with “Moto Blue“. I chose your product because of the thickness and apparent durability. The selection was also great. I made a good choice. Step 2 was prep and initial taping of the car. I started by giving it a thorough wash with dish soap in the areas I would be working. I followed the bath with a good lint free towel. After it dried I used good old fashioned masking tape. (we recommend 70% alcohol wipe as well, prior to application)  Using 1″ tape, I followed the body lines of the car going horizontally from the back bumper seam to the front bumper seam. It was a bit tricky making the bends and around the top of the mirrors.In step 3 I applied the diagonal tape going the length of the car. As the distance of the columns between the stripes got bigger, the stripe width got smaller. To accomplish this I made a gauge out of scrap paper. It would measure from the beginning of one diagonal tape column to the beginning of the next. I taped off the front bumper seam, and I used the front door seam to give me an approximate angle to follow. Once I had the angle I wanted, I used a strip of 1″ tape for the first diagonal tape column. After that it got easier. I used the gauge to mark the rest of the diagonal tape locations. I applied one mark on the top strip of 1″ tape, and one on the bottom strip.Complete the taping before applying the stripes. Determine how wide you want the rest of the stripes. I had to change column widths a couple of times due to overlapping the front and back door seams. My next two columns were 1″wide; after that the next four were 1.5″. Five were at 2″, five more at 2.5″, four at 3″, and three at 3.5″. The last five columns were two 4″, two 4.5″, and one at 5″ wide. At this point was where I looked for flaws and decided if it was the pattern I would stick with.Step 4 consisted of making templates by dry rubbing. This step took quite a bit of paper. Starting at the front, I set a piece of paper over the first stripe hole and dry rubbed it with a pencil to get the shape of the stripe. Then I cut it out and marked the template. I numbered each one left 1, left 2, etc. I did not destroy the templates when I was finished. I am keeping them in case I ever have to replace a damaged piece.Transferring the template to the vinyl made up step 5. I flipped the template upside down and traced it on the back of the vinyl sheet. I kept them as close together as possible, so I would not waste the vinyl. I made sure to mark the back of the vinyl appropriately. A razor blade was used to cut the vinyl. Scissors did not work; they distorted the vinyl when cutting.The last step was cleaning the areas with 70% rubbing alcohol, letting it air dry, and applying the vinyl. I used the squeegee and followed the directions that came with the vinyl. This was by far the easiest and most gratifying step. There were a couple of times I had to re-lift the vinyl because of an air bubble being trapped. The Vinyl was actually pretty easy to work with. STEP 6. FINALLY I removed the tape to admire the new stripes. The whole job took me a couple of days, but I definitely enjoyed it.SHOP FOR VINYL  WRAPS: www.powersportswraps.com

ORDER DIGITAL MOTO BLUE CAMO:

CONTACT: 866-289-2358


Posted on Leave a comment

GOLF CAR, GOLF CART, GOLF CAR DECALS, GOLF CAR GRAPHICS, GOLF CAR STICKER, GOLF CAR WRAP, VINYL WRAP,

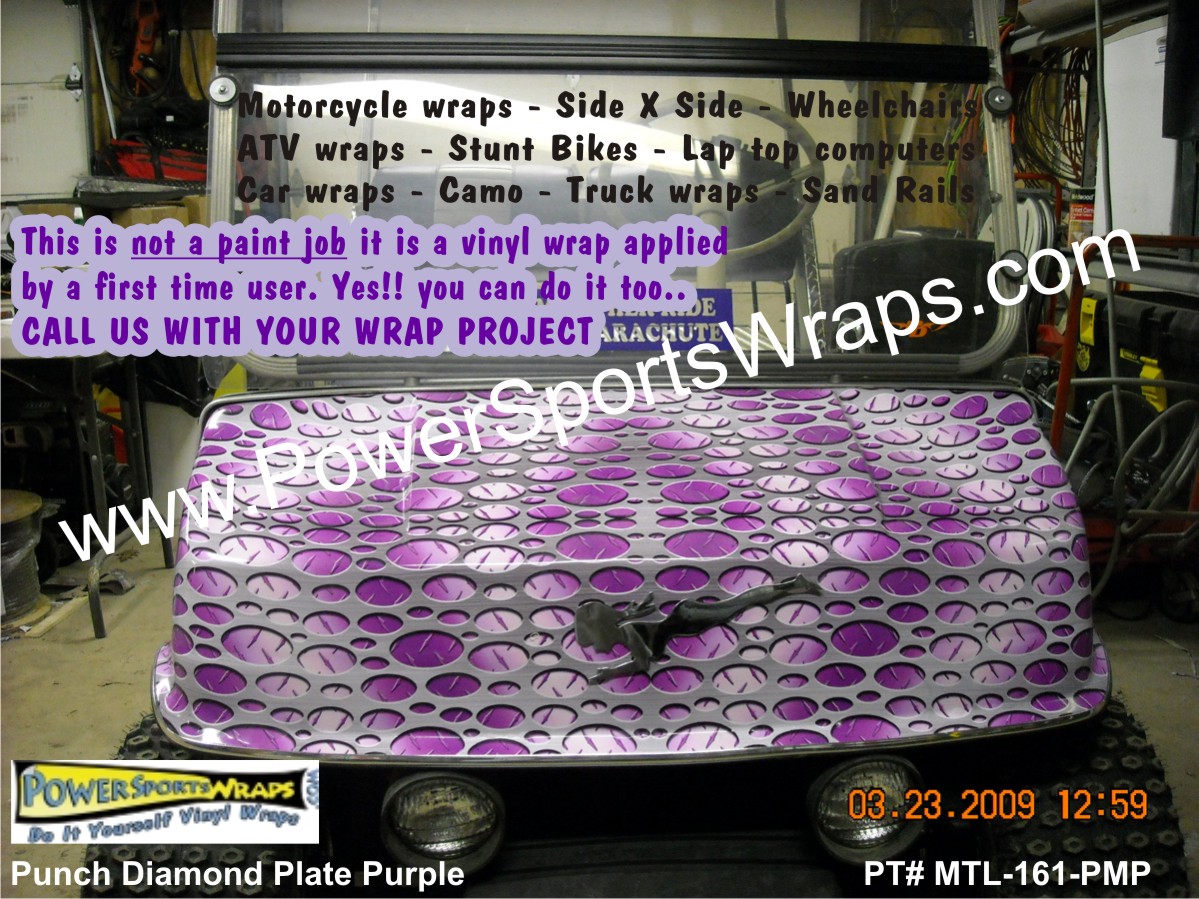
Punch metal plate purple golf car wrap

GOLF CAR WRAP, GOLF CAR DECALS, CAR WRAP, VINYL WRAP, POWER SPORTS WRAPS, DECAL WRAPS, GOLF CAR, GOLF CART, CUSTOM DECALS, GOLF CART DECALS, GOLF CAR ACCESSORIESGOLF CAR WRAP, GOLF CAR DECALS, CAR WRAP, VINYL WRAP, POWER SPORTS WRAPS, DECAL WRAPS, GOLF CAR, GOLF CART, CUSTOM DECALS, GOLF CART DECALS, GOLF CAR ACCESSORIES, CAR WRAP, TRUCK WRAP, CAR WRAPS, TRUCK WRAPS, VINYL CAR WRAPS, CUSTOM WRAPGOLF CAR WRAP, GOLF CAR DECALS, CAR WRAP, VINYL WRAP, POWER SPORTS WRAPS, DECAL WRAPS, GOLF CAR, GOLF CART, CUSTOM DECALS, GOLF CART DECALS, GOLF CAR ACCESSORIESGOLF CAR WRAP, GOLF CAR DECALS, CAR WRAP, VINYL WRAP, POWER SPORTS WRAPS, DECAL WRAPS, GOLF CAR, GOLF CART, CUSTOM DECALS, GOLF CART DECALS, GOLF CAR ACCESSORIESCAR WRAP, AUTO WRAP, CAR VINYL WRAP, GOLF CAR WRAP, GOLF CART WRAP, GOLF CART DECAL, GOLF CAR DECAL, GOLF CAR GRAPHICS, GOLF CART GRAPHICS, GOLF CAR VINYL, GOLF CART VINYL WRAPS, GOLF CAR ACCESSORIE, GOLF CAR KIT, GOLF CART GRAPHICS KIT

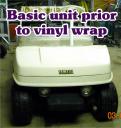
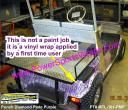
Tired of that old basic golf car with no appeal?  Why not jazz it up with a vinyl golf cart warp?  Our do it your self vinyl decal wraps are an inexpensive way to dress up a golf car.  You can have complete body coverage of a standard body golf car for as low as $339.00 this includes any of our custom digital vinyl patterns found on our website.  Take a look at the before and after pictures and let us know what you think.  We are sure you will agree that a vinyl wrap is the best and most cost effective way to dress up a golf cart.

These pictures were submitted by Ray from PA.  He had never applied our golf car vehicle wrap prior to purchasing our wrap product.  Ron completed the application using our easy to follow instructions and  by watching our supplied wrap application video. He customized this golf car for a fellow sky diver who uses the car for jumps.  Ray had this to say after completing this golf car wrap:  I do believe i will buy one for myself soon so I will be talking to you about an orange design sometime soon   

ORDER PUNCH METAL PLATE PURPLE TODAY!

Golfcargraphics.com

If you would like to purchase any of our Punch metal patterns please see our website or give us a call. 866-289-2358