 Here it is
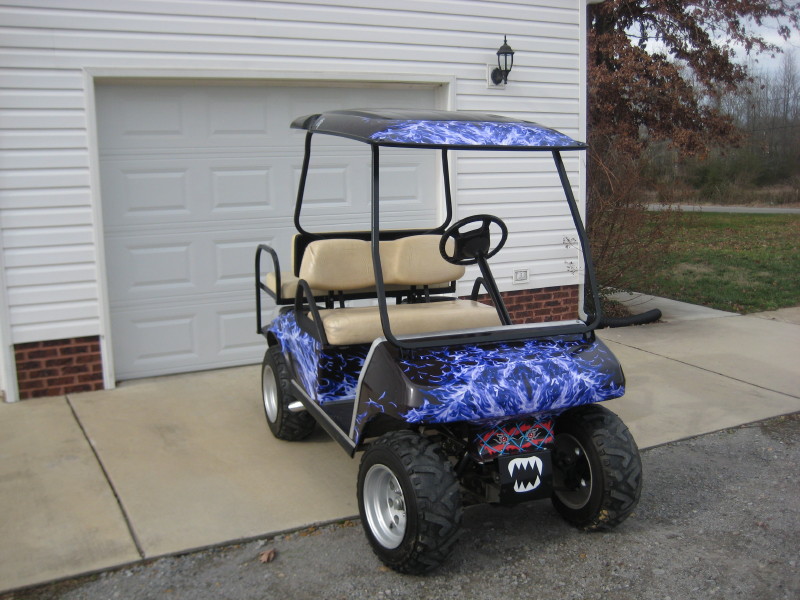
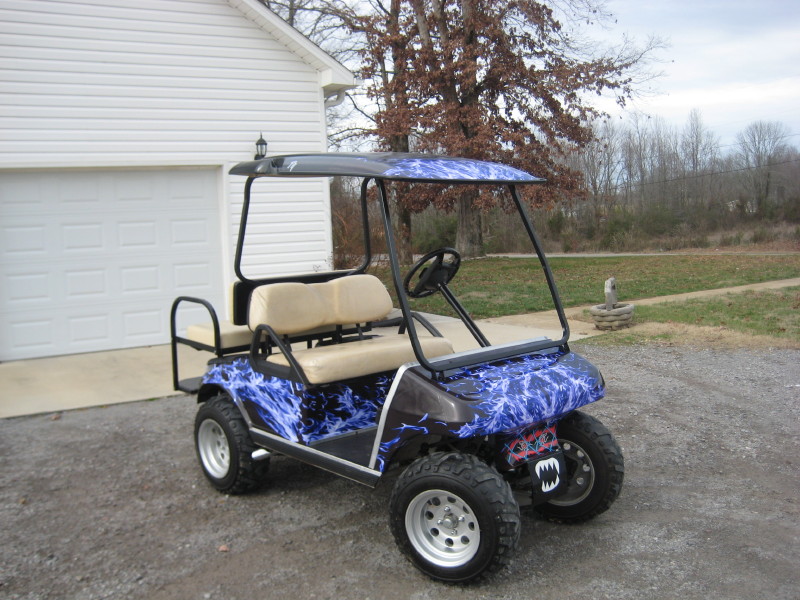
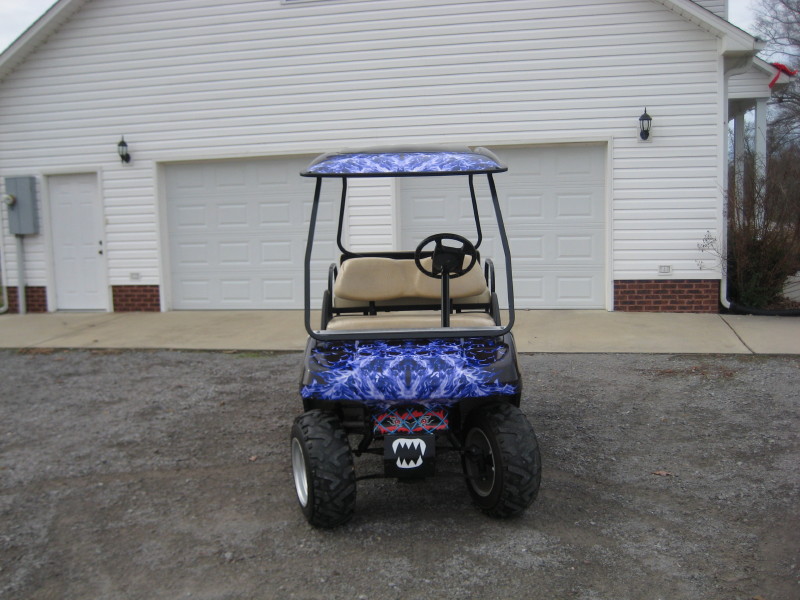
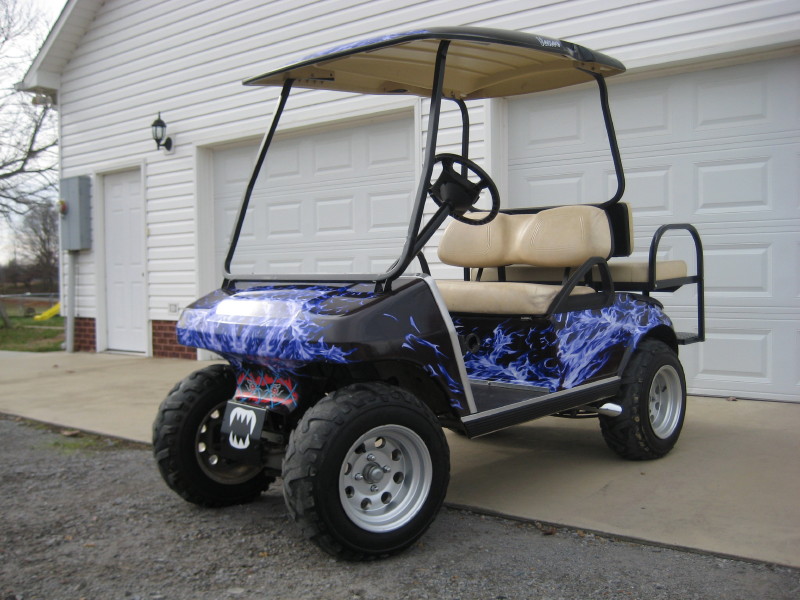
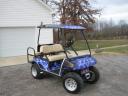
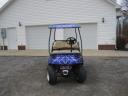
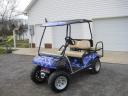
This was a fairly easy install, following the directions given in the video on the website. I will point out that we prepped the body surface wiping with denatured alcohol . We laid out our pieces on the cart before hand to see where coverage was not complete, cut pieces accordingly from areas of extra, and used those pieces in the incomplete areas. When ordering my wrap I requested an extra piece to cover the front of the roof. My roof was a different surface than the cart surface (more like a slick plastic surface). Because of this I sprayed it with Krylon Fusion and let dry over night before applying wrap (this was just for the roof!!) Once all pieces were cut, we peeled backing from one edge to the center, applied beginning at the center working to one edge and then to the other squeegeeing from the center out. As contact was made with the surface we heated with a hair dryer (lightly/medium heat), which made the wrap flexible and easy to adjust (especially on body contours and seams). If using the flame wrap like this one, try to plan your seams where the flame pattern is fairly jagged and you will not be able to see the seam. That’s it!!
(Hint: If your seams show a small white edge, you can take a fine point sharpie and color the edge. Also, be sure on the front to put lower filler pieces (above wheels) so top piece overlaps bottom piece.)
Terry
Order your flame wrap here!