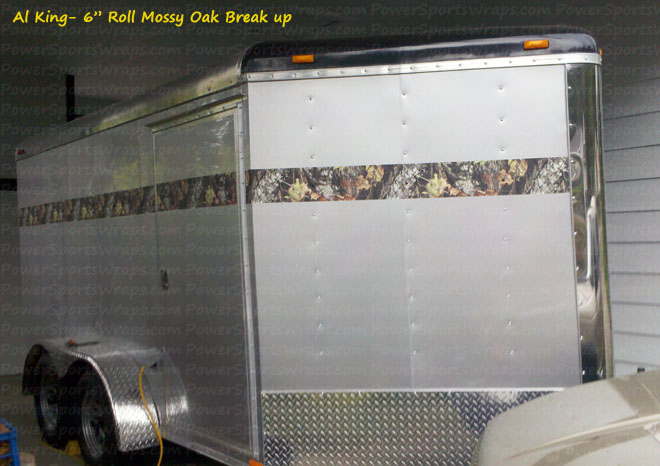
Product: Mossy Oak Break Up 6″ Camo film on a roll. Contact us by phone to order 4″ or 6″ camo in a roll- 814-838-6377
Our customer Al commented: The tape is easy to attach in short sections; longer sections take a bit more preparation and care. Pre-mark the top or bottom of the tape location lightly with a pencil. Hang the rolled out material with the backing still attached, and position it approximately with a few strips of masking tape. Start with about 1” of overlap beyond where the start will be when it’s finished. On the other end, cut any extra length off, again leaving about 1” to allow a clean end finish. Carefully peel the backing away, leaving the tape just touching the surface you plan to attach it to. This step keeps you from accidentally sticking the glue side together as you lay it.
Lightly press one end of the exposed back of the tape to its approximate location. Carefully lift the rest of the tape away from the surface, hold it firmly and stretch it slightly and place it along the marked locations, approximately every 3 feet. Again, lightly press it in a few locations to hold its position. Once the tape is placed, return to the end where you started, lift it from the surface to straighten and replace to take out any sags or twists, then place it down and press the end into place. At this point it should be smooth with no twists or significant bubbles. If not, repeat these steps to get it properly positioned.
Once the tape is positioned, go over it with your hand, taking care to work from the center of the tape to the edges, removing any remaining large bubbles. At this point the tape is positioned in its final location, with a bit of overlap on each end. Use a steel straight edge and a sharp blade to slice off the extra ends at the location you want the final end to be. Then, with the edge of the included application tool, press the tape down firmly on the surface you are attaching it to, working in a circular fashion. There will likely be a few small bubbles in places. Work across the bubbles in a circular motion with only slight pressure, and the bubbles will be pressed out. Don’t get in a hurry and try to press the bubbles out from one side or you will end up with a crease in the tape and a blemish that is difficult to remove.
At edges and seams of the underlying material that you cross, take care to work it down tight to the surface using the application tool. You may then wish to use a heat gun, on low setting, to shrink it tight. Once you heat it, do NOT try to lift it or work it as it will stretch and lose its shape. Wait until it cools before you work it further.
Easier than it sounds, but you may wish to take a short piece, maybe 18-24” long to learn how to lay it. Once you do the first piece and get it right, the rest is simple!
I did as you suggested, removed the screws, painted them flat black (with a clear coat to seal it) and they blend in nicely.
Thanks! Al