Posted on

Mossy Oak Camouflage vinyl wrapping film, 3M camo

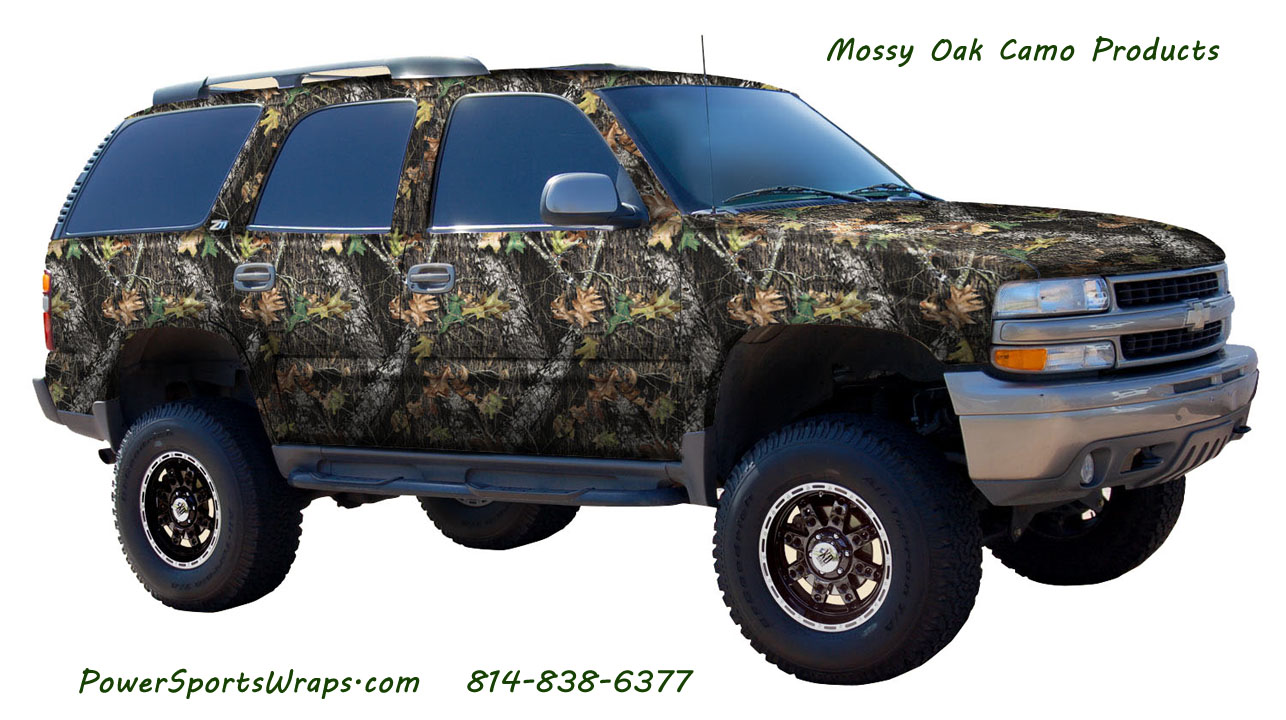
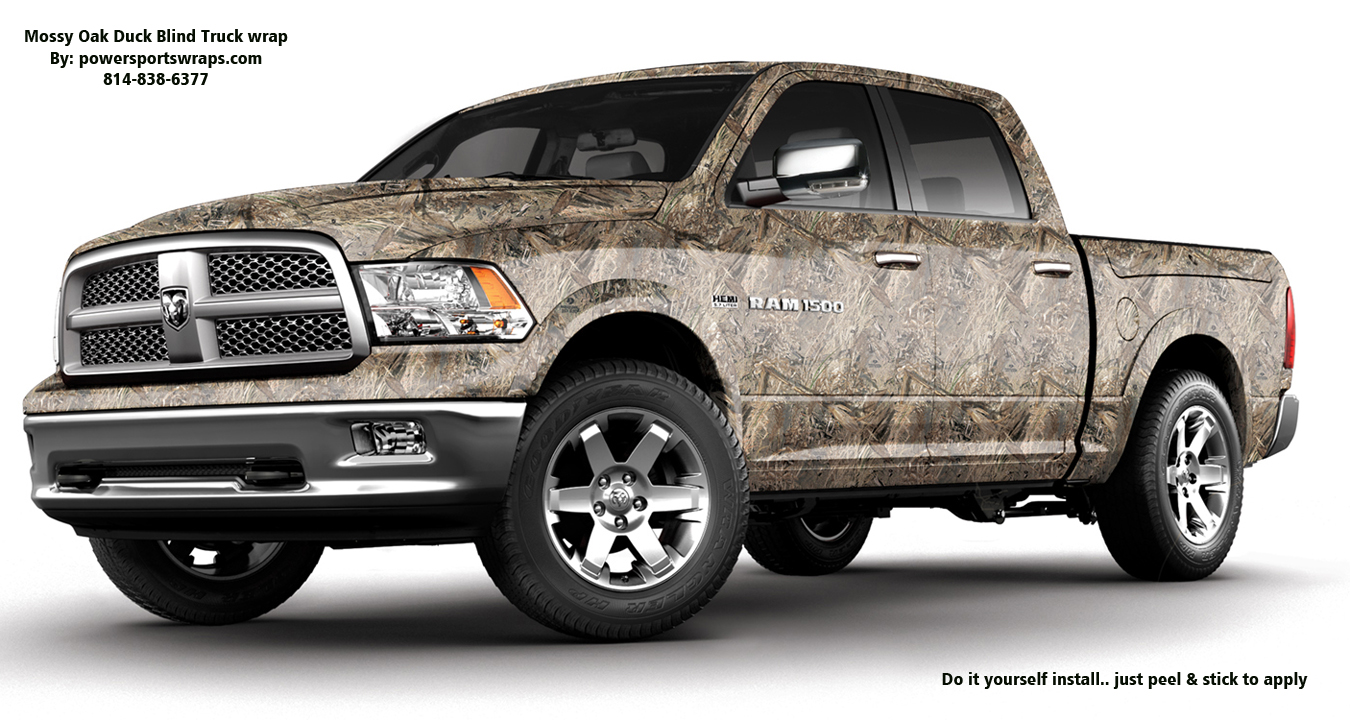
Mossy Oak Camouflage vinly wrapping film for cars, boats, trucks, ATV’s and more.. we offer the full line of 3M camo- powersportswraps.comMossy Oak Duck Blind camouflage truck wrap kit by: powersportswraps.comMossy Oak Camouflage vinly wrapping film, 3M camo accent truck kit for do it yourself application, just peel & stick apply. powersportswraps.com Mossy Oak Camouflage vinly wrapping film for cars, boats, trucks, ATV’s and more.. we offer the full line of 3M camo- powersportswraps.com

Here are some examples of various vehicle accents and full wraps using our high quality 3M Mossy Oak wrapping film.  We use only the best 3M vinyls & heavy duty cast overlaminate to provide added durability to withstand years of abuse.  Using air release channels to provide a smooth, bubble-free installation. Pressure sensitive adhesives does not firmly set until firm pressure is applied making the film more forgiving during installation.  Industry leading 5 year warranty against fading 3M technology are tested under the most stringent standards. We also have over 200 custom wrap patterns for you to choose from

Shop our HUGE camo store

Material Details: 

Premium 3M cast vinyl materials to produce a camouflage kit with an industry leading 7 year durability rating and 5 year warranty against fading. Unlike other vinyl products, cast vinyl provides better print quality and materials free of edge lifting, peeling, cracking and pulling away. Product comes standard with a matte finish, making it ideal for adding a custom camouflage look. Material is highly conformable and contains air release technology providing a simple, clean, bubble free installation. Our camouflage materials are removable when desired and won’t leave behind an adhesive residue.  We also apply a top cast sheet laminate over the image to provide added durability and protection to the image.  

866-289-2358

Posted on

Mossy Oak Duck Blind Boat wrap

Mossy Oak Duck Blind camouflage

Mossy Oak Duck Blind camouflage boat wrap kit by: powersportswraps.comMossy Oak Duck Blind camouflage boat wrap by: powersportswraps.com order yours today.. 814-838-6377Mossy Oak Duck Blind camouflage boat wrap by: powersportswraps.com

Here is a great example of what a wrap of any style can do for an old beat up piece of equipment.  In this case it’s our Mossy Oak Duck Blind camouflage vinyl wrapping film but really could be any of the over 200 pattern vinyl wraps we offer.  This old boat was ready to sink but with this  Mossy Oak Duck Blind camouflage wrap it looks better than some new ones.  Just peel and stick our sheet laminated vinyl wrapping film & you will be amazed at how easy it is to apply.  Shop our Camo store here or see many of our custom vinyl wrap patterns here.

866-289-2358

Posted on

Camouflage wrapping film install

Mossy Oak Camo Fender Flair Kit
Mossy Oak Camo

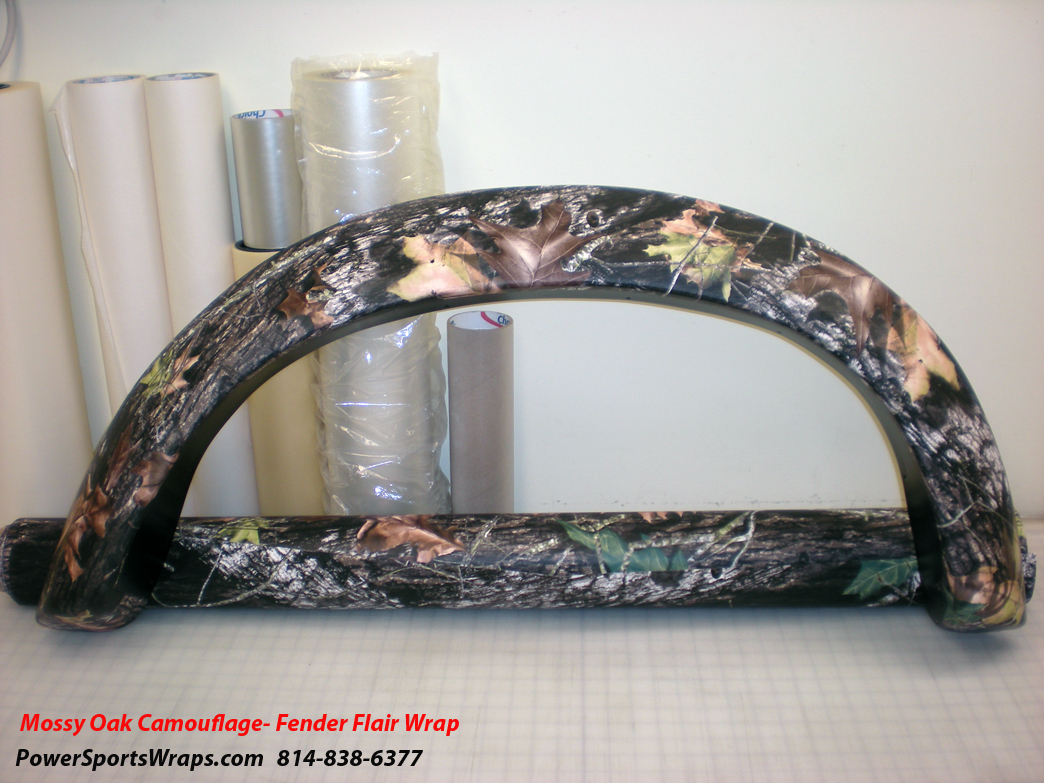
Wrapping certain things with camouflage film (like flair for your fender) can sometimes be tricky. Every little tip helps!


Cut Edges in Camouflage Film

Mossy Oak Fender Flair Kit
Mossy Oak Camo

This technique can be used when applying any pattern where more than one sheet has to be overlapped to continue the same pattern.

• Cut the edges prior to applying
• Try to avoid cutting directly on the application surface, as you may risk damage to the surface itself
• Apply first section of the Camouflage Film


Applying the Camouflage Film

Mossy Oak Camo Fender Flair Kit
Mossy Oak Camo

Cutting the edges where the Camouflage Film will overlap will make the overlay seamless and invisible.
• Once the first section of the pre-edged Camouflage Film has been applied, re-wipe with alcohol before you apply the next section.
• Wiping the film with alcohol ensures a clean, non-contaminated surface
• Apply next section of the Camouflage Film


These techniques will work for any patterned film, no matter how many sections it is cut into. Need help with your next Camouflage Film install? Powersportswraps.com is here to help with all of your wrapping needs! Check out the complete line of Camouflage Wraps!

Posted on

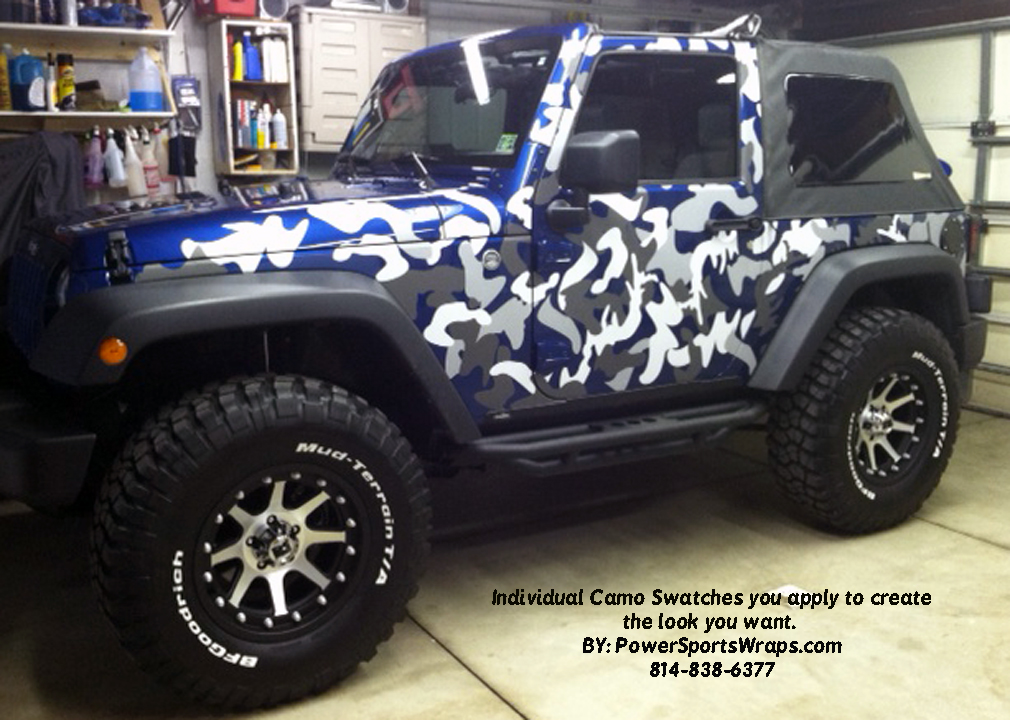
Jeep Wrangler Camo decals individual swatches you apply where you want

Jeep Wrangler Camo vinyl swatch decals, available in any color combo, individual pieces you apply where you want- contact PowerSportsWraps.comJeep Wrangler Camo vinyl decals, available in any color combo, individual swatches you apply where you want- contact PowerSportsWraps.comJeep Wrangler Camo vinyl, we produce individual camo swatches, you apply where you want, just peel and stick produced by PowerSportsWraps.comJeep Wrangler Camo decals individual swatches you apply where you want, just peel and stick produced by PowerSportsWraps.com

We used this Jeep Wrangler to test out our individual camo swatches to see how it would look.  We designed these to be individually applied to your surface at your discretion.  This means you can apply as many as you want to your project to create the look that is just right for you.  These camo swatches are produced in 3 colors of gray for our test Jeep and each piece is cut to shape and laminated with our sheet matte laminate.  By installing this type of camo your vehicle base color still shows through the pattern.  This makes application easy and quick plus if you are not comfortable with doing a full coverage wrap much less worrisome.  Available in any color combination, to create your custom camo just send us your request or shop our website to see more vinyl wraps to choose from.

See more jeep Wrangler camo here.

866-289-2358

Posted on

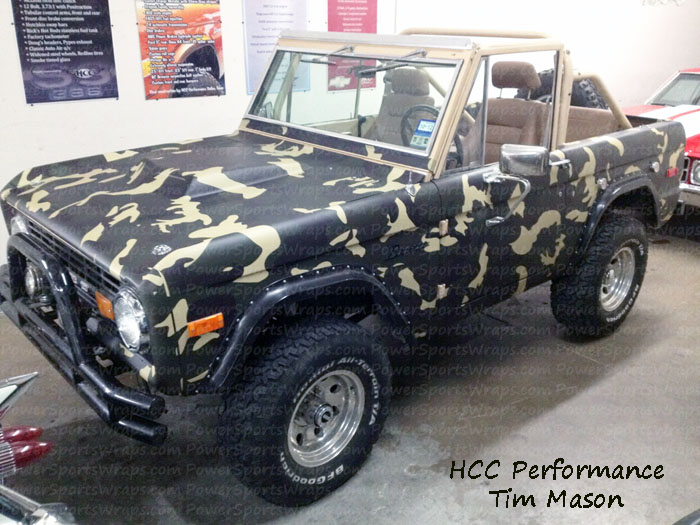
FORD BRONCO URBAN CAMO VINYL WRAP, camo truck wrap

Green-Brown camo vinyl wrap custom designed & produced by: PowerSportsWraps.com
FORD BRONCO URBAN CAMO VINYL WRAP, truck wrap in Green -Brown camo by PowerSportsWraps.com
Camo truck wrap custom produced by: PowerSportsWraps.com we have a HUGE selection of camo film for vehicle wraps…

Special thanks to Tim M. from HCC Performance for sending us his completed project photos of this Ford Bronco.  Tim had us custom produce our Green Brown Urban Camouflage pattern.  View our Urban Camouflage selection here!

for him so that they could completely wrap this Ford Bronco truck.  This job was produced on wrapping film with a Matte cast sheet laminate for added protection.  If you have a custom vinyl wrap job you need produced or installed contact us … we can help.

866-289-2358


Posted on Leave a comment

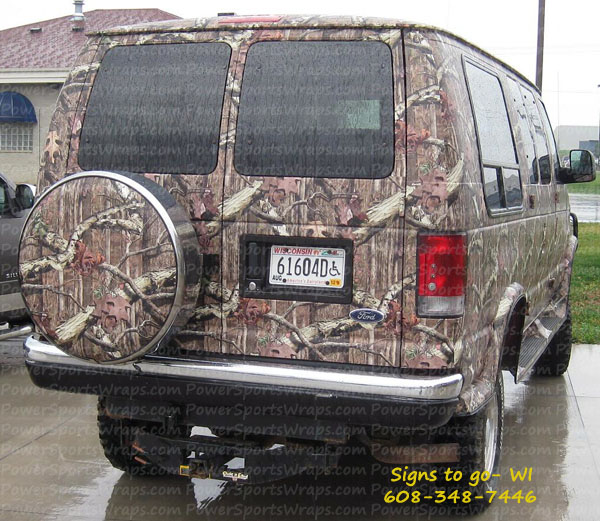
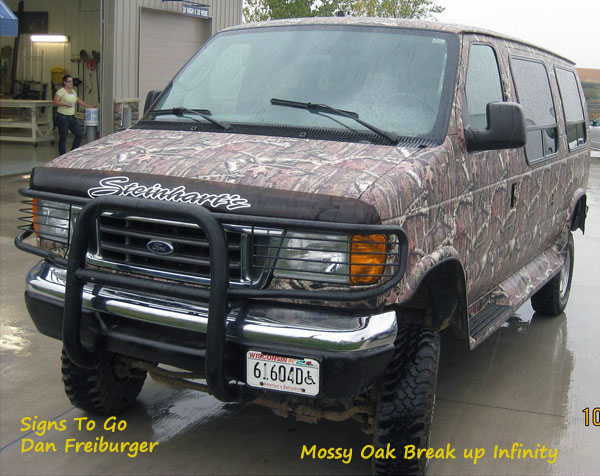
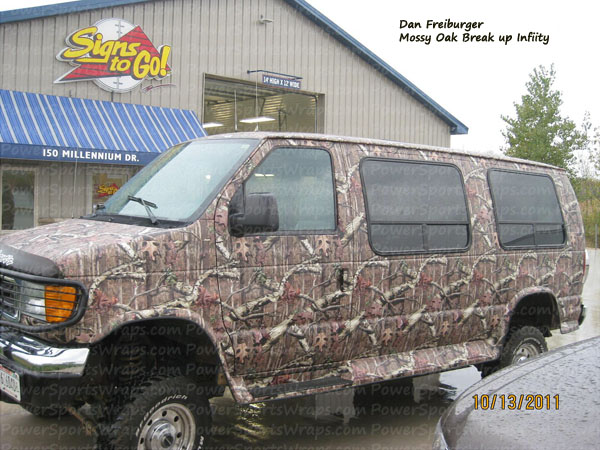
Mossy Oak Break up Infinity camo vinyl van wrap by Signs to Go Dan Freiburger

Ford 4×4 full vehicle wrap in Mossy Oak Break up Infinity camouflage, film provided by PowerSportsWraps.com
Mossy Oak Break Up Infinity CAM 503 IFY
Mossy Oak Break up Infinity camouflage wrapping film, Peel & stick apply, do it yourself vinyl wraps by Powersportswraps.com
Camouflage vehicle wrapping film from: Mossy Oak, Real Tree, Advantage and more.. contact us for you next camo project: Powersportswraps.com

  Special thanks to Dan Freiburger from Signs to go WI for sending us his completed project photos of this 4×4 handy cap van completely wrapped in our Mossy Oak Break up Infinity camo film.

This is one of our many selections of Mossy Oak camo film that we offer.  You can see our complete line of camouflage film by clicking this link.

Phone: 866-289-2358

Posted on Leave a comment

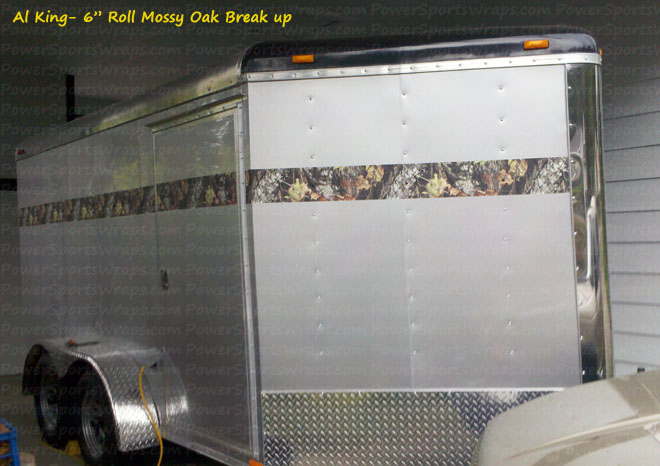
Mossy Oak Camo 6″ Roll Enclosed trailer stripe- Al King

Mossy Oak camo film 6″ Roll for accent striping

Product: Mossy Oak Break Up 6″ Camo film on a roll.  Contact us by phone to order 4″ or 6″ camo in a roll- 814-838-6377  

Our customer Al  commented:  The tape is easy to attach in short sections; longer sections take a bit more preparation and care. Pre-mark the top or bottom of the tape location lightly with a pencil. Hang the rolled out material with the backing still attached, and position it approximately with a few strips of masking tape. Start with about 1” of overlap beyond where the start will be when it’s finished. On the other end, cut any extra length off, again leaving about 1” to allow a clean end finish. Carefully peel the backing away, leaving the tape just touching the surface you plan to attach it to. This step keeps you from accidentally sticking the glue side together as you lay it.


Lightly press one end of the exposed back of the tape to its approximate location. Carefully lift the rest of the tape away from the surface, hold it firmly and stretch it slightly and place it along the marked locations, approximately every 3 feet. Again, lightly press it in a few locations to hold its position. Once the tape is placed, return to the end where you started, lift it from the surface to straighten and replace to take out any sags or twists, then place it down and press the end into place. At this point it should be smooth with no twists or significant bubbles. If not, repeat these steps to get it properly positioned.


Once the tape is positioned, go over it with your hand, taking care to work from the center of the tape to the edges, removing any remaining large bubbles.  At this point the tape is positioned in its final location, with a bit of overlap on each end. Use a steel straight edge and a sharp blade to slice off the extra ends at the location you want the final end to be. Then, with the edge of the included application tool, press the tape down firmly on the surface you are attaching it to, working in a circular fashion. There will likely be a few small bubbles in places. Work across the bubbles in a circular motion with only slight pressure, and the bubbles will be pressed out. Don’t get in a hurry and try to press the bubbles out from one side or you will end up with a crease in the tape and a blemish that is difficult to remove.


At edges and seams of the underlying material that you cross, take care to work it down tight to the surface using the application tool. You may then wish to use a heat gun, on low setting, to shrink it tight. Once you heat it, do NOT try to lift it or work it as it will stretch and lose its shape. Wait until it cools before you work it further.


Easier than it sounds, but you may wish to take a short piece, maybe 18-24” long to learn how to lay it. Once you do the first piece and get it right, the rest is simple!

I did as you suggested, removed the screws, painted them flat black (with a clear coat to seal it) and they blend in nicely.


Thanks! Al